To delete a GKE cluster, we need to use the following command:
gcloud container clusters delete CLUSTER_NAME –-zone=zone_name
In the next screenshot, we see the progress and output of the command that leads to cluster deletion:
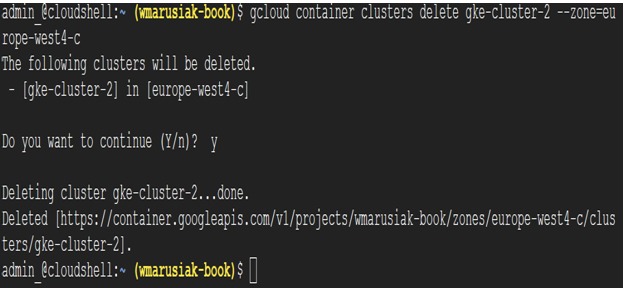
Figure 6.13 – Cluster deletion using CLI
By performing cluster operations, we have delved deeper into GKE management. Let’s move on to node pool management.
From the GKE architecture, we know that the node pool is the default place we host applications. As mentioned in the GKE architecture section in Chapter 5, you can’t directly migrate applications from one node pool to another. What we need to do is to redeploy applications from one node pool to another.
As with every operation, we need to first know how many and what kind of node pools we currently have. In the next section, we start by listing existing node pools.
Before we start any pool activities, it is good to know how to list existing node pools.
Cloud console
To view existing node pools, we can view them in Cloud console by clicking on our cluster and then NODES:
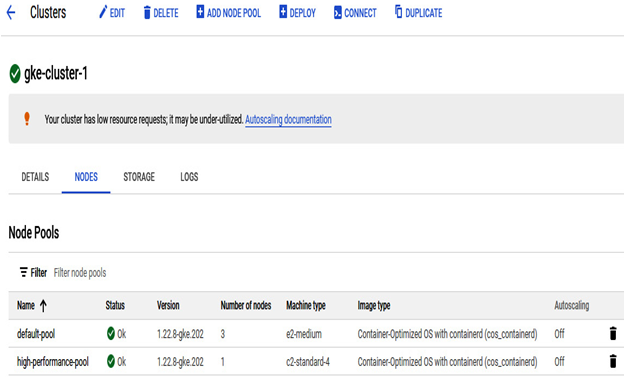
Figure 6.14 – Node pool details in Cloud console
Command line
To list existing pools using the command line, we need to execute the following command:
gcloud container node-pools list –cluster CLUSTER_NAME
The next screenshot shows the output of the command with two available node pools— default-pool and high-performance-pool:
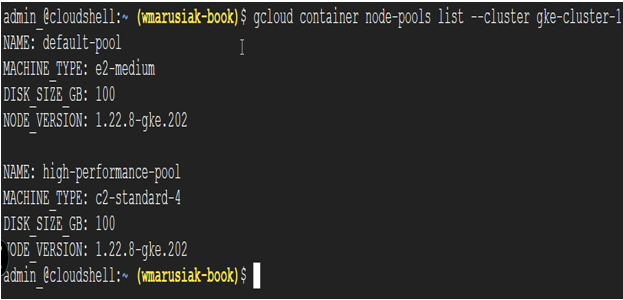
Figure 6.15 – Node pool details in Cloud Shell
Once we have information about existing pools, let’s add a new node pool to the GKE cluster.
We will also add a node pool in Cloud console using the CLI.
Cloud console
We start by adding an extra node pool in Cloud console, as follows:
- Click the ADD NODE POOL button:
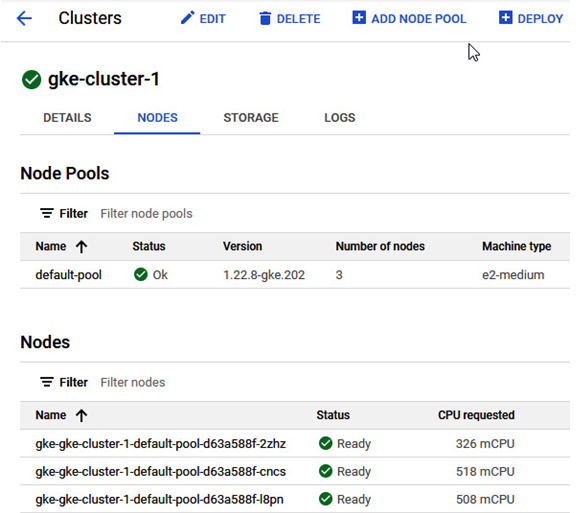
Figure 6.16 – ADD NODE POOL button in Cloud Shell
- We need to provide details such as node pool name, size, or upgrade configuration:
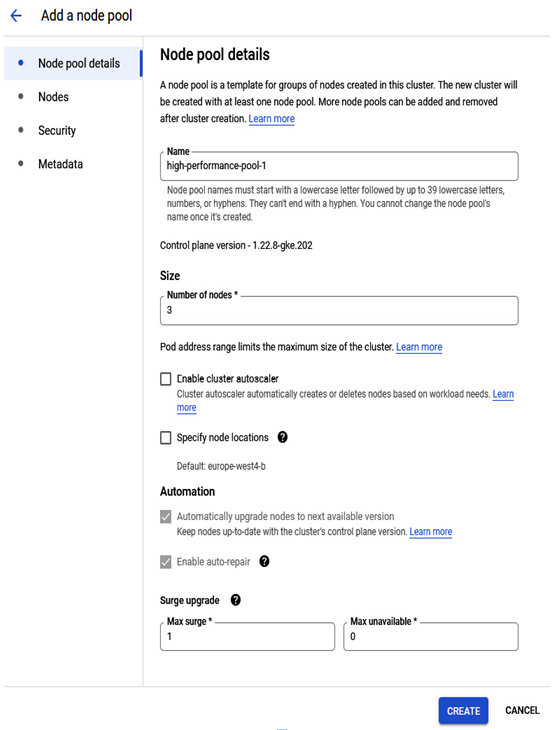
Figure 6.17 – New node pool details
- Select Nodes from the menu on the left, and let’s choose a high-performance machine family:
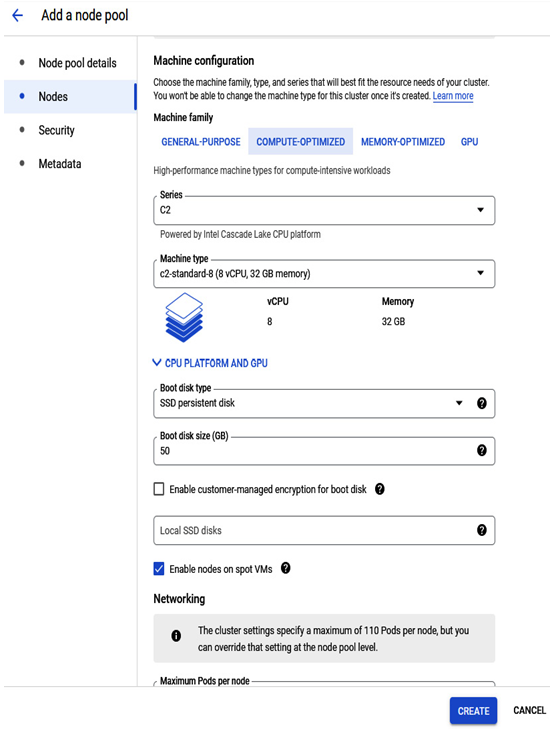
Figure 6.18 – New node pool machine specification
- We can change node security access scopes or enable shielded options:
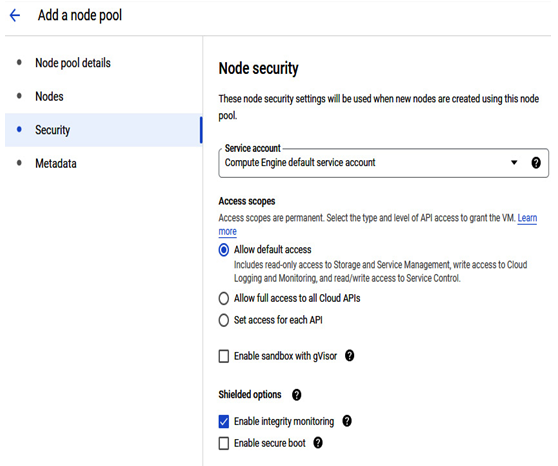
Figure 6.19 – New node pool security specification
- Similar to Security, we can add Kubernetes labels in the Metadata section:
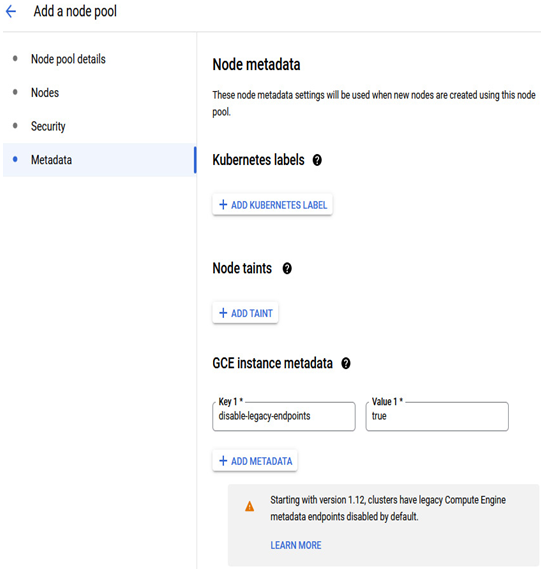
Figure 6.20 – New node pool metadata specification
- Finally, when we click the Create button, the deployment will start.
- After a moment, a new node pool is created and can be used to deploy workloads.
