To modify deployed Pods, we have several possibilities, but it will depend on how the Pods are deployed. Let’s try to modify the ReplicaSet deployment used in the previous section of the chapter.
We have a deployment with the name frontend with three replicas and we would like to change the number of replicas to seven. We can change the amount of the Pods in two different ways.
The first one is to simply use the kubectl scale –replicas=7 -f https://kubernetes.io/examples/controllers/frontend.yaml command, which results in the following output:
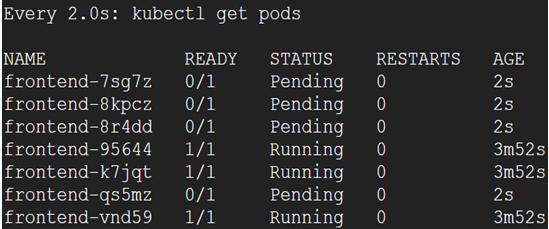
Figure 6.39 – Modification of the ReplicaSet from three to seven replicas
We are using the watch kubectl get pods command, which allows me to see changes live. We can also use the kubectl get pods -w command, which doesn’t require additional packages to be installed. After a few seconds, additional Pods are ready to be used:
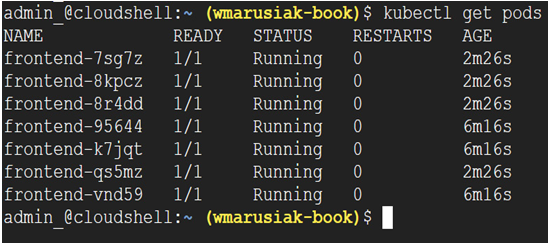
Figure 6.40 – Modification of the ReplicaSet from three to seven replicas finished
We can also modify the code used to deploy Pods.
In our case, we will use a command-line file editor to change the value of replicas from 3 to 20:
apiVersion: apps/v1
kind: ReplicaSet
metadata:
name: frontend
labels:
app: guestbook
tier: frontend
spec:
# modify replicas according to your case
replicas: 20
selector:
matchLabels:
tier: frontend
template:
metadata:
labels:
tier: frontend
spec:
containers:
– name: php-redis
image: gcr.io/google_samples/gb-frontend:v3
You can use your favorite file editor or web-based editor available in Cloud console:
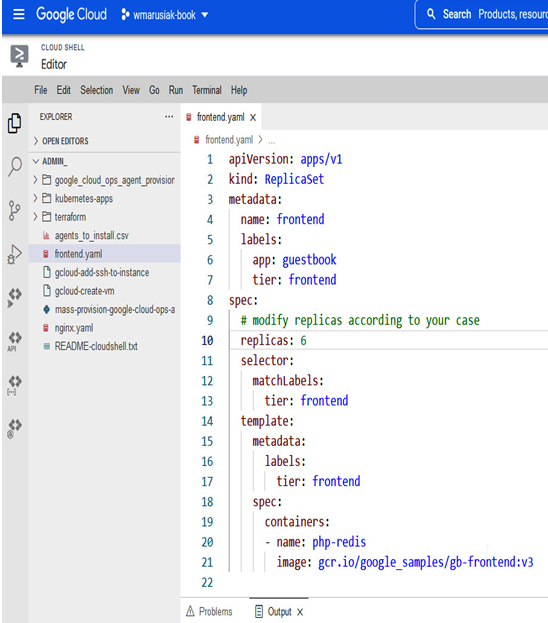
Figure 6.41 – YAML deployment definition file editing in the Cloud console web-based editor
Once the file is saved, we can use the YAML file to update the ReplicaSet from three to six Pods:
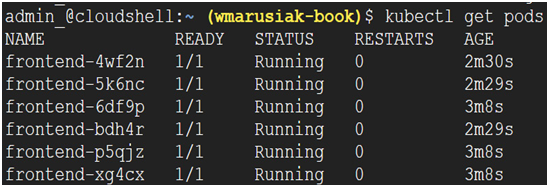
Figure 6.42 – YAML deployment definition file update from three to six Pods was successful
Now we’ve learned how to modify existing Pods, it is crucial to learn how to remove Pods from GKE clusters.
Removal of Pods will depend on how you deployed them. If a single Pod has been deployed, then the removal of the Pod is a straightforward operation.
If the Pod is part of a ReplicaSet, then removal of the Pod itself will succeed, but the GKE control plane will run the desired number of Pods and create a new one. To remove Pods in such a case, we need to remove the deployment itself.
Cloud console
We have a ReplicaSet deployed and visible in the Workloads section of the GKE part of the Cloud console:
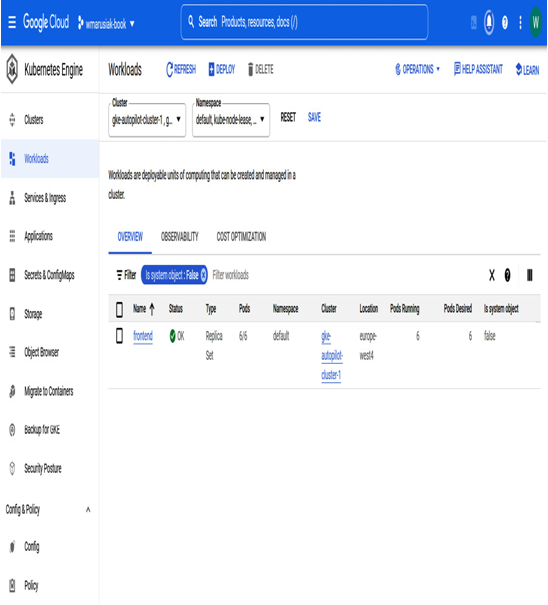
Figure 6.43 – Frontend ReplicaSet workload in Cloud console to be removed
To remove a single Pod or Pods from the GKE cluster, we need to click on the workload itself and scroll to the Pods section:
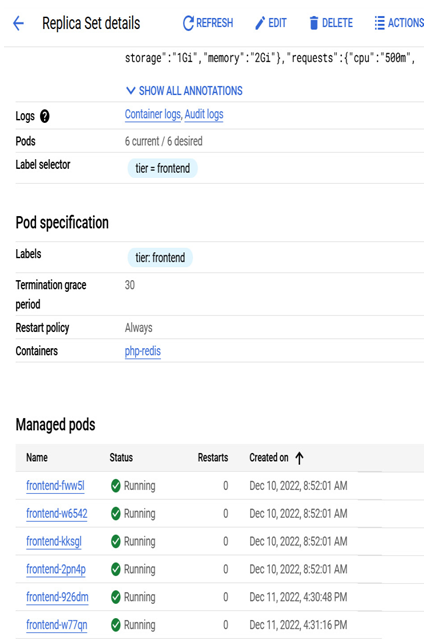
Figure 6.44 – Pods part of the ReplicaSet deployment
To remove a Pod from the ReplicaSet, click on the desired Pod and click the DELETE button:
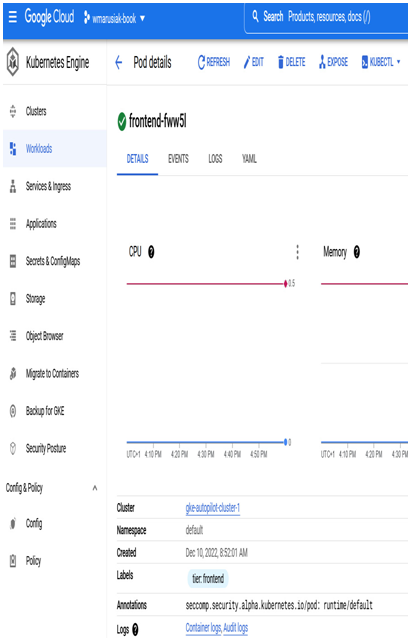
Figure 6.45 – Removal of a single Pod from the deployment
After clicking the DELETE button, we need to confirm the removal of the Pod:
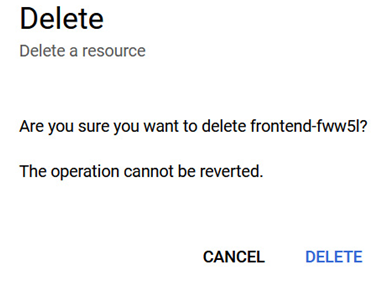
Figure 6.46 – Confirmation of Pod deletion in Cloud console
After a second, the old Pod is removed and a new one is created as part of the ReplicaSet deployment with the frontend.
Now, we will move on to complete deployment removal.
To remove a deployment, choose it from the Workloads section and click the DELETE button:
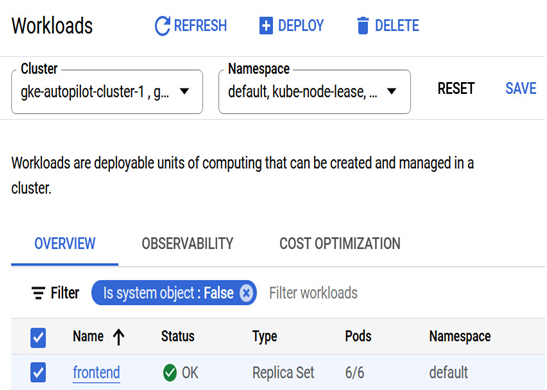
Figure 6.47 – Confirmation of Pod deletion in Cloud console
We need to confirm the deletion, and without any issues, the desired workload deletion starts:
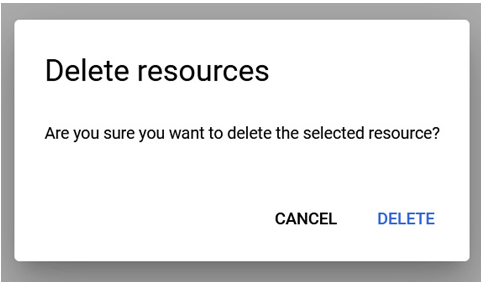
Figure 6.48 – Confirmation of workload deletion in Cloud console
In just a few seconds, the deletion process starts, and we can briefly observe all Pods’ termination:
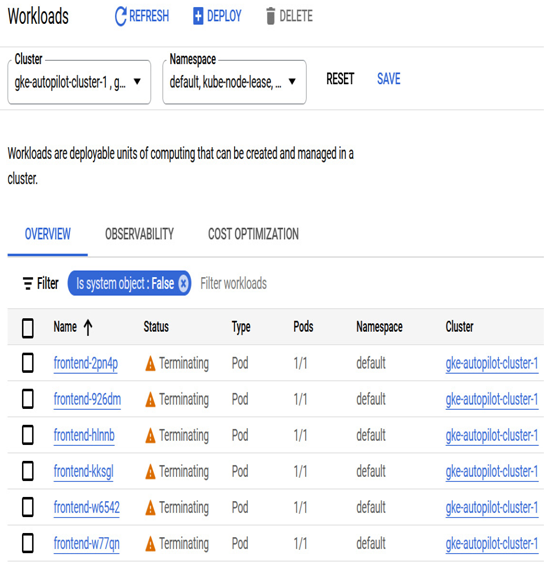
Figure 6.49 – Confirmation of workload deletion in Cloud console
If we hit Refresh in the browser, it will confirm the resource deletion.
Now, let’s move on to command-line application removal.
