Outbound traffic configuration
An App Service can be integrated with an Azure virtual network to allow the app to make outbound connections to VMs or other endpoints in a virtual network. The virtual network and the App Service must be in the same Azure region to be integrated. Integrating an App Service with a virtual network enables the App Service to
- Access resources in the integrated virtual network and other virtual networks that are peered with the integrated network.
- Access resources that use service or private endpoints.
- Access resources across ExpressRoute circuits or VPN tunnels.
- Force tunnel outbound traffic through a firewall or other network appliance.
To configure virtual network integration for an App Service, navigate to the Networking blade of the App Service. Under Outbound Traffic Configuration, click Not Configured next to Virtual Network Integration (refer to Figure 3-84).
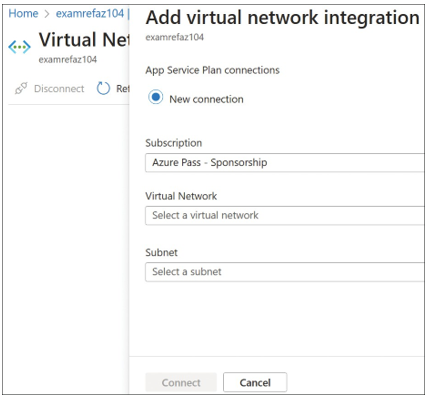
The Virtual Network Integration blade will be displayed. Select Add Virtual Network Inte- gration. On the Add Virtual Network Integration blade, select the subscription, virtual network, and specific subnet to integrate the App Service with, as shown in Figure 3-87.

FIGURE 3-87 Add Virtual Network Integration
Configure deployment slots for an App Service
Deployment slots are live, accessible versions of your web app that run in the same App Service plan, but each has its own hostname and can be configured separately. You can configure a production slot where active users and connections are hosted, as well as dev, canary, user acceptance, or other slots. Each slot can have its own configuration items, such as connection strings and environment variables. This makes it easy to perform A/B or blue/green testing for new versions of your application.
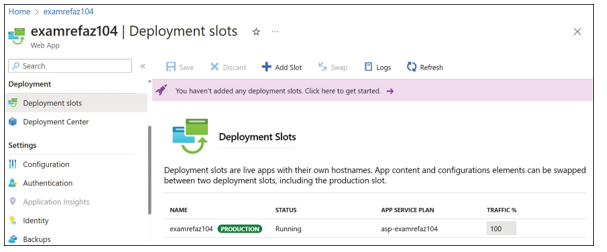
The number of slots and the specific features depend on the tier of App Service plan that you configured. To add a slot to your App Service, navigate to the resource and then select the Deployment Slots blade, as shown in Figure 3-88.

FIGURE 3-88 App Service Deployment Slots blade
To add a slot, click Add Slot. You will be prompted to provide a name for the slot and specify whether you want to clone the settings from an existing slot. Cloning provides an easy method of copying environment variables and other settings from one slot to a new slot to minimize changes that need to be made.
When you add the slot, it will appear on the Deployment Slots blade. The slot will have its own URL that is accessible and can have a completely different set of code deployed to the slot. Each slot can have its own deployment options, such as automatically deploying from a specific branch in a repository.
Figure 3-88 also displays a column for Traffic %. By default, the production slot receives all traffic that is destined for the App Service. When you add deployment slots, you can configure a specific percentage of new requests to be sent to the slot. This allows you to test the latest ver- sion of your application “in production” with real users, even if it’s only 1% of your total traffic.
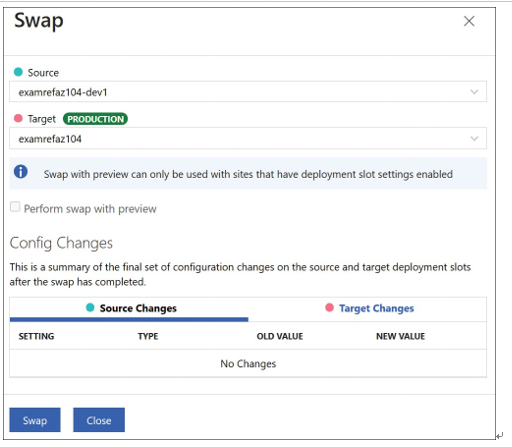
When you are ready to move a version of an application from one slot to another slot, such as from staging to production, you can easily swap the slots. This will prompt you to copy some configuration changes between environments, or to leave them as-is. Figure 3-89 displays the swap page with the source, target, and configuration changes.

