- Next, you must configure target environment settings, as shown in Figure 5-52.
Target settings include
■ Target Location The target Azure region, different from the source
■ Target Subscription If you plan to recover the machines in a different subscription
■ Target Resource Group The resource group of the VM object after recovery
■ Failover Virtual Network The virtual network in the target region that the VM should be associated with
■ Failover Subnet The subnet within the virtual network that the VM NIC should be associated with
■ Storage Managed disk, disk churn, and disk cache storage options for each VM that is being replicated
■ Availability Options Target availability set, availability zone, and/or proximity placement groups after recovery
■ Capacity Reservation Ensure that the VM has guaranteed capacity allocation after replication
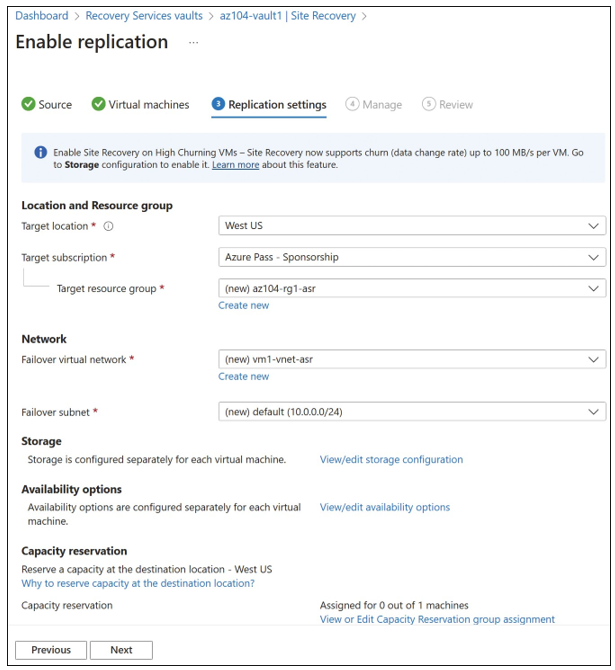
FIGURE 5-52 Target settings for the replication
- On the Manage tab, configure the replication policy that is used. You can also define replication groups if a cluster of machines running the same workload needs consis- tency across VMs, as shown in Figure 5-53.
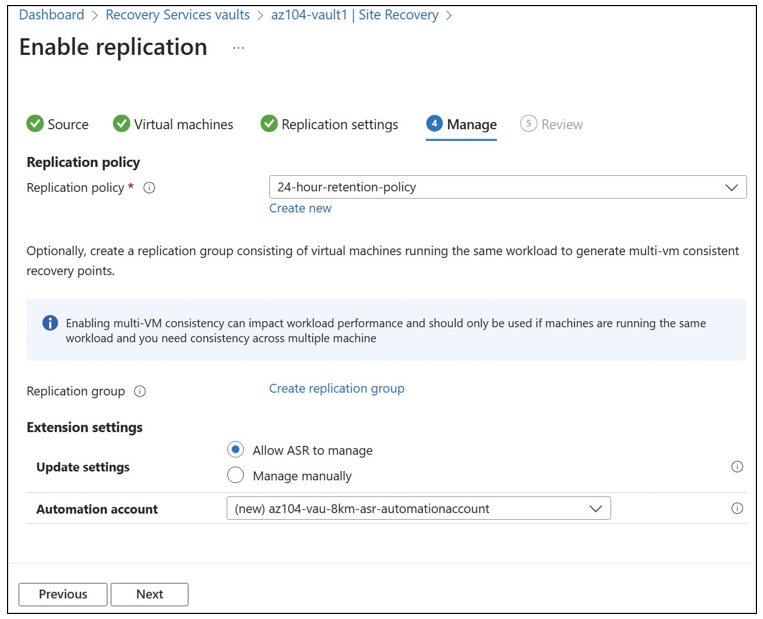
FIGURE 5-53 Configure the replication policy
- Finally, click Enable Replication (see Figure 5-54).
You can track the replication progress by selecting Site Recovery Jobs (see Figure 5-55). It takes a while to get the replication and synchronization completed. You cannot proceed with further steps without replication of the VM.
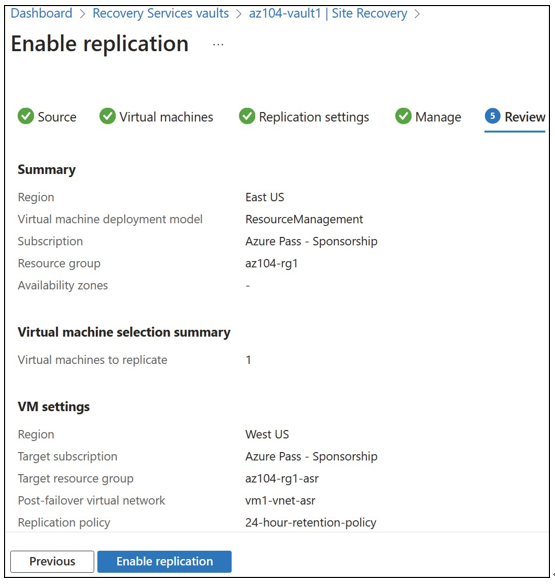
FIGURE 5-54 Review of all the Enable Replication settings
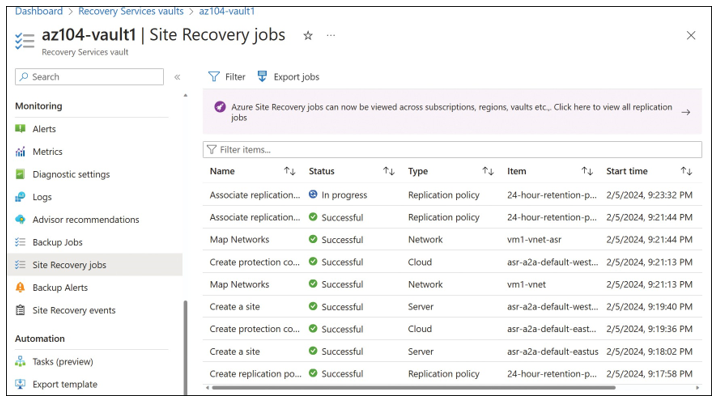
FIGURE 5-55 Site Recovery jobs
Once replicated, you can see the Source VM listed in the Recovery Services vault under Replicated Items. The overview is shown in Figure 5-56.
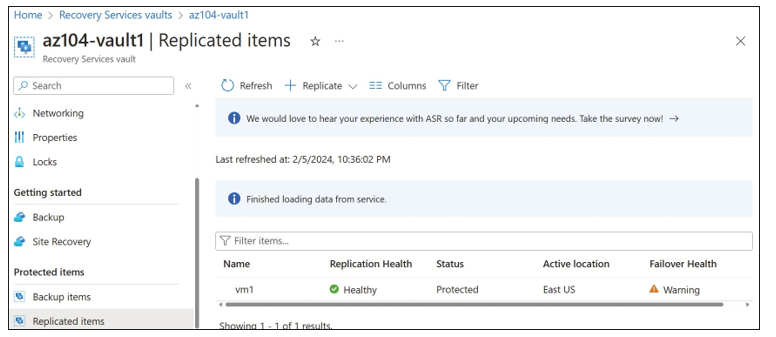
FIGURE 5-56 Replicated Items
After replication has completed, it’s time to test failover:
- On the Replicated Items blade, select the VM. On the command bar, click Test Failover (see Figure 5-57).
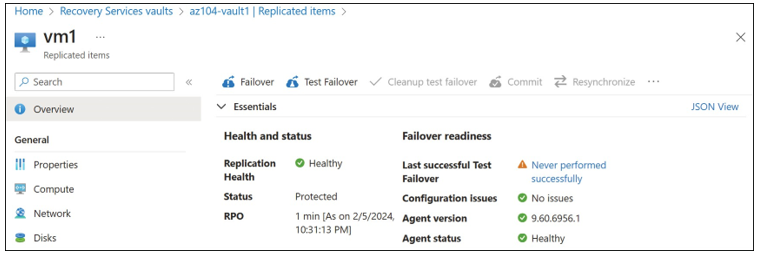
FIGURE 5-57 Test Failover on the Replicated Items blade
- On the Test Failover blade, select a recovery point from the Choose A Recovery Point drop-down menu and choose a virtual network from the Azure Virtual Network drop-down menu, as shown in Figure 5-58. Then, click Test Failover.
- You can track the progress of the test failover by using Site Recovery jobs, as shown in Figure 5-59. Now, you will be able to see the test VM created in the target resource group.
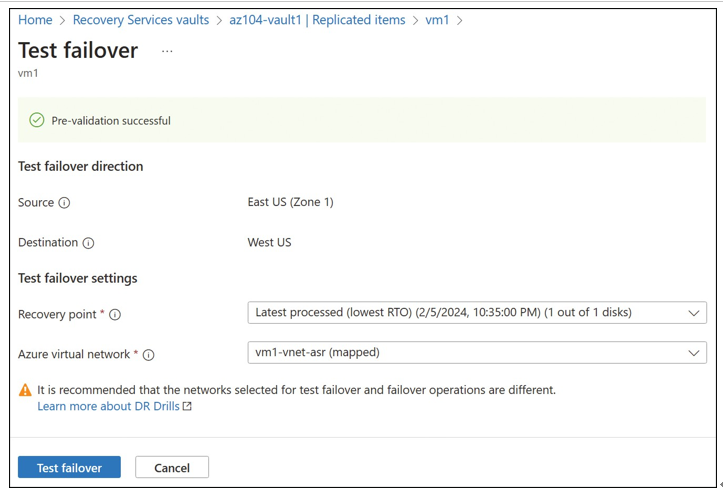
FIGURE 5-58 Test Failover blade
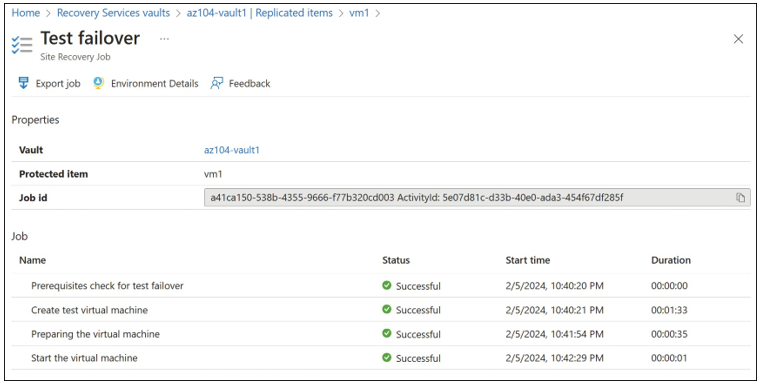
FIGURE 5-59 Test failover jobs
- You can delete the test VM after verifying the VM and network details. To delete the VM and other resources, click Cleanup Test Failover, as shown in Figure 5-60.
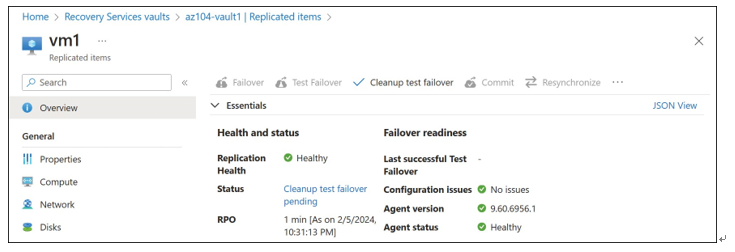
FIGURE 5-60 Clean up test failover
- You can now run an actual failover. Click Failover in the Command bar.
- On the Failover blade, select the recovery point and verify the failover direction, as shown in Figure 5-61. Click Failover.
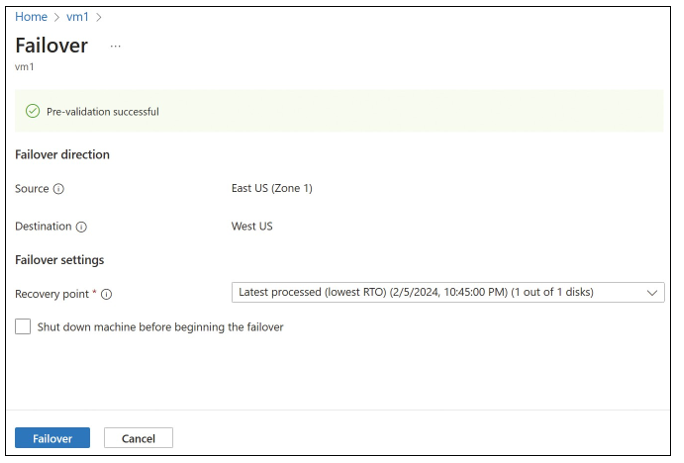
FIGURE 5-61 Failover blade
- You can track the failover progress by following the site recovery jobs (see Figure 5-62). A target Azure VM will be created with the same configuration and target settings provided earlier.
- You should validate by logging into the VM.
- Click Commit to complete the failover process.
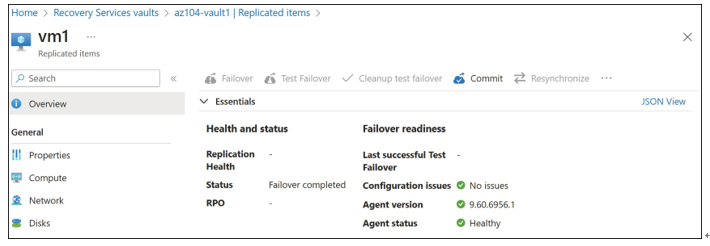
FIGURE 5-62 Failover completed
- You should also consider protecting your VM again by clicking Re-protect, which will reverse the process (see Figure 5-63).
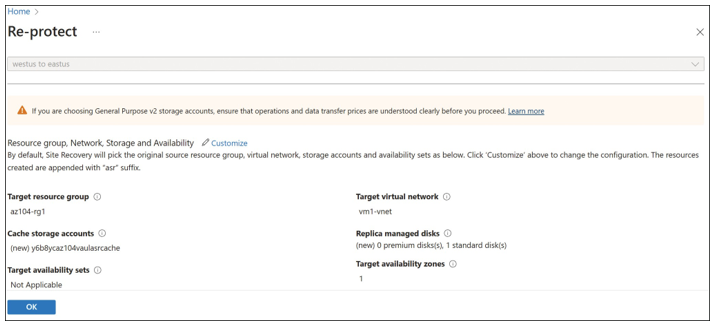
FIGURE 5-63 Re-protect option

- Once the VM is protected again, you can perform a failback to get to the original state. Similarly, you can use Site Recovery for other scenarios.
