But why do you need to do this? You may want to get the component’s initial values from the previous elements, which may have stored another kind of data. In our scenario, we are doing this so that we can go from the input screen to the verification screen and back without losing the data that we’ve inserted (using the Previous button on the flow screens). In other words, we’ll go back and forth without losing any form fields.
In our scenario, we’ll be using the email field as the unique field for contacts (for the email component’s Required attribute, we selected the true global value):
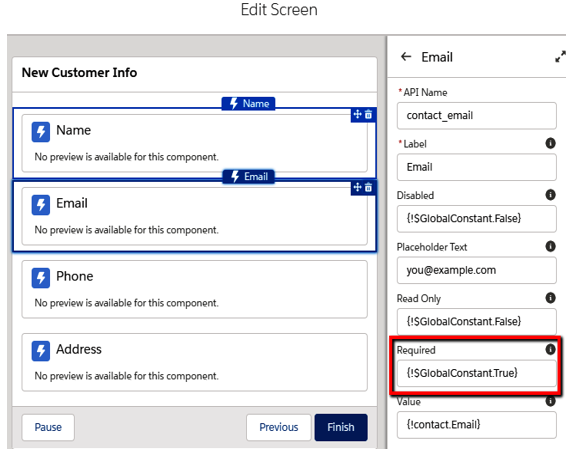
Attribute definition using global values
Close the modal and link the Start element to the New Customer Info screen element by dragging the white circle of the Start element to the white circle of the next block, called New Customer Info, as shown in the following screenshot:
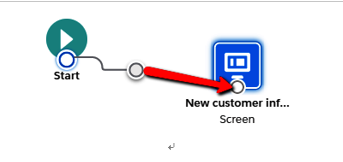
Linking flow elements
Now, we need to create a new screen element. This is where we’ll be reviewing the data we’ve just filled in:
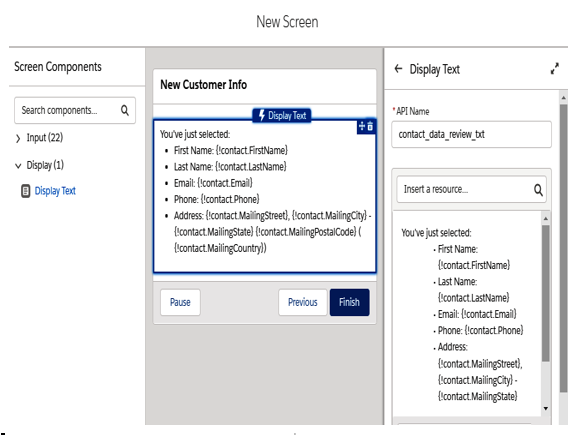
Review screen element
This element contains a Display Text component, which is used to display the data stored in the contact variable.
Next, link this element to the previous one:
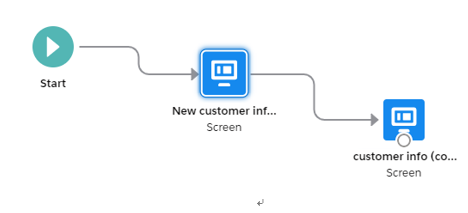
Simple flow example completed
At the moment, we don’t have any database interaction, but we can test it anyway by clicking the Run button at the top of the Cloud Flow Designer (remember to save the flow first). To do this, compile the form with some values:
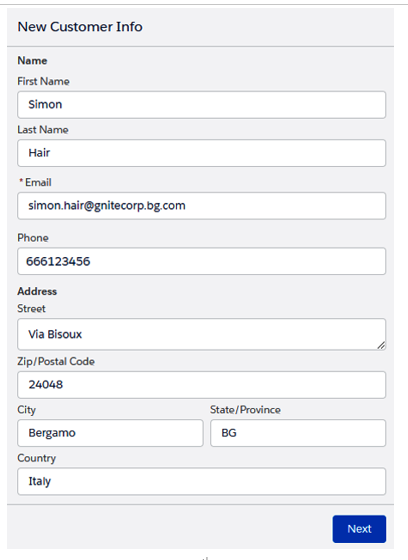
Example flow – input form screen
Click Next to go to the review screen:
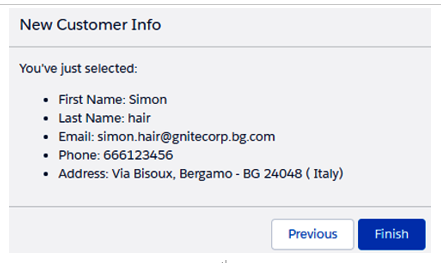
Example flow – review screen
If you repeatedly click the Previous and Next buttons, you’ll see the form keeping its data, thanks to the previous configuration of the value and output value attributes of the screen components.
Did you try to leave a non-required field blank? If so, you should have received an error message (and an email message with a log) stating that “The flow failed to access the value for contact.field because it hasn’t been set or assigned.” This is just Salesforce telling you that the variables associated with that input box were not initialized.
Flow variables need to be initialized before we can use them.
To initialize a variable, we’ll be using the Assignment element and appending it between the Start element and the New customer info element. Let’s see how we can do this:
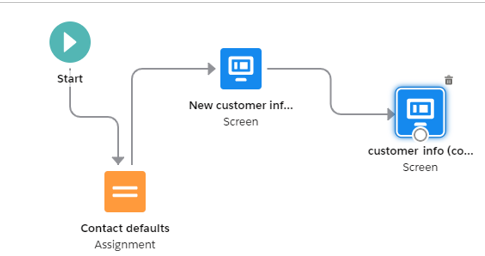
New assignment element used to initialize the contact variable
In our example, the element is being configured so that it assigns all the required fields to the empty string global variable, which a safe way to initialize a value to the empty value (use this global variable instead of a blank text input value):
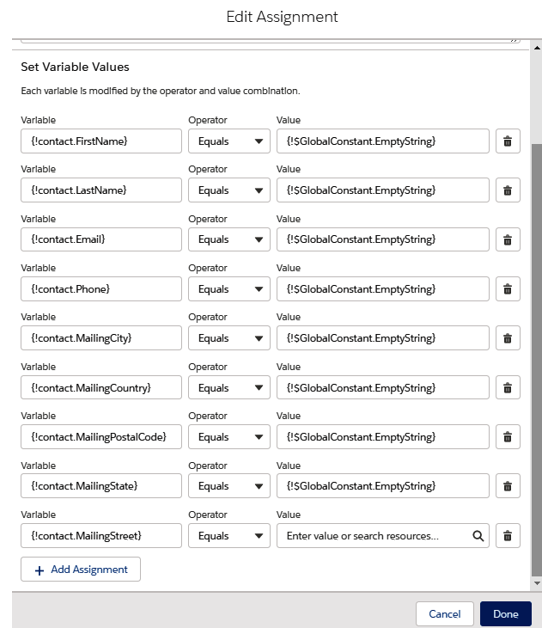
Contact variable initialization
The next step is adding the account’s data.
