Building a flow
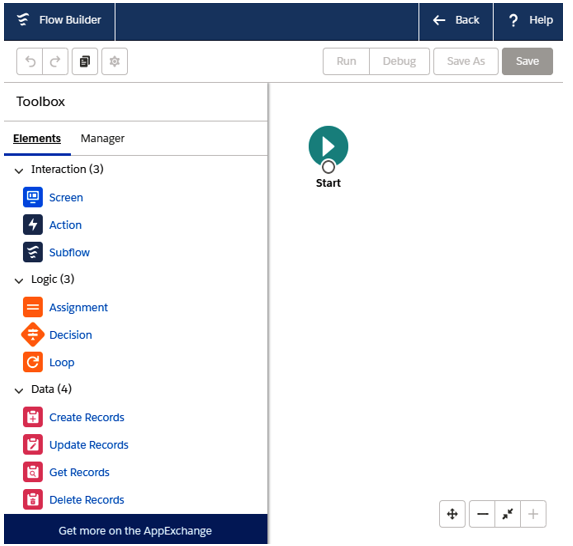
Let’s build a simple screen flow so that we can gather contact and account data from the user’s interactions by using the Cloud Flow Designer (this is the new version of the old Flow Builder app and was introduced in Spring 2019). This is shown in the following screenshot:
Cloud Flow Designer
Grab the Screen element and drop it onto the flow canvas. The specific element’s modal will appear, as shown in the following screenshot:
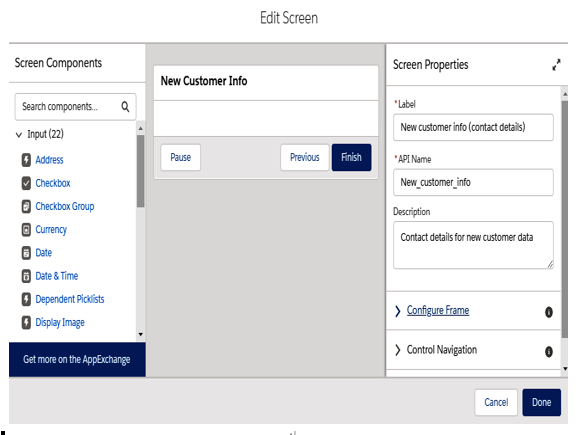
Screen element modal
Add a label and a unique API name for the modal (this is automatically filled in for you when you leave the focus of the label input).
We’ll be creating a form here, so let’s start by adding the Name, Email, Phone, and Address input components, as shown in the following screenshot:
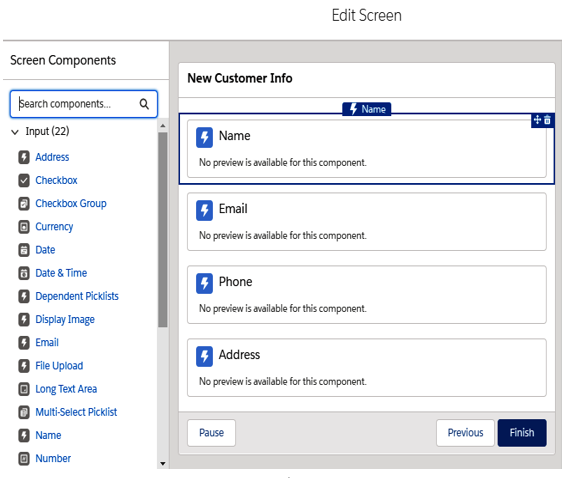
Screen element with form components
For each component, provide a valid API name. In this example, we have used the contact_component_type format; for example, contact_name or contact_phone. In flows, all the input components are considered variables or resources. For example, you can use the contact_component_type variable to fill in another component.
Click the Done button to return to the canvas.
Next, we need to define that we are going to put our values into a Contact object, so we need a resource that will host the values that are grabbed from the screen element.
On the Flow Designer’s Toolbox, click on the Manager tab to show the list of resources and elements that have already been defined on the current flow (you will see the components that we just added):
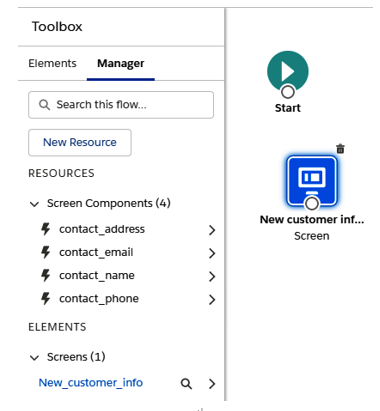
Manager tab of the Cloud Flow Builder toolbox
Now, click on the New Resource button; the New Resource modal will appear:
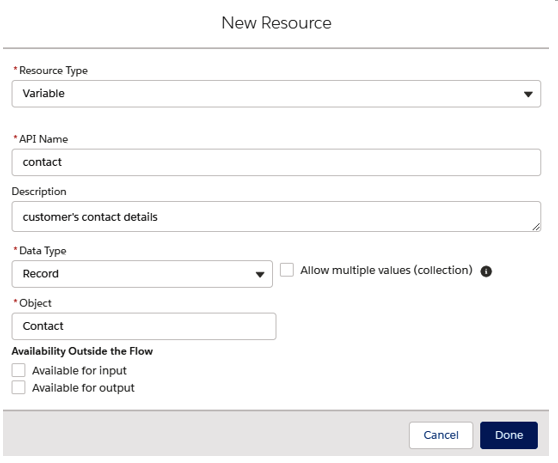
New Resource configuration modal
On this modal, select the following values to configure a new flow variable of the Contact type:
- Resource Type: Variable
- API Name: Contact
- Description: Customer’s contact details
- Data Type: Record
- Object: Contact
Spoiler alert: Now we have a brand-new contact record that will be used to create a Salesforce contact at the end of the flow.
To link form components to the contact variable, double-click on the screen element. Then, for each component, click on the corresponding attribute to tell the screen element where each value should be grabbed from:
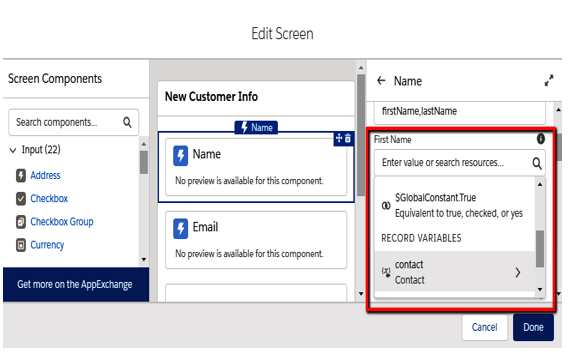
Linking screen components with variables
For this example, we’ll be configuring the following attributes:
- Name component:
- First Name: {!contact.FirstName}
- Last Name: {!contact.LastName}
- Email component:
- Value: {!contact.Email}
- Required: {!$GlobalConstant.True}
- Phone component:
- Value: {!contact.Phone}
- Address component:
- City Value: {!contact.MailingCity}
- Country Value: {!contact.MailingCountry}
- Postal Code Value: {!contact.MailingPostalCode}
- State/Province Value: {!contact.MailingState}
- Street Value: {!contact.MailingStreet}
Repeat this configuration for the Store Output Values attributes section of each component’s value to tell the flow engine where the data should be stored:
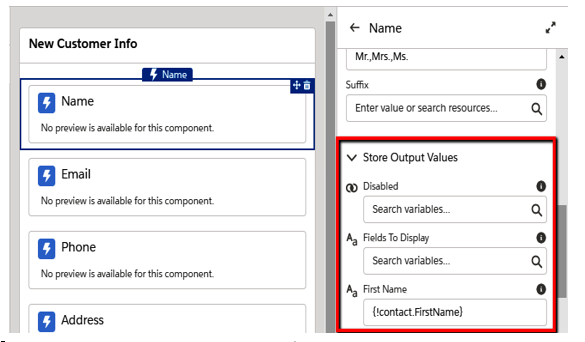
Setting output attributes
Why do we have this double configuration?
The first configuration is used to get the component’s data from an already defined variable, while the second configuration sets up where the component’s data should be stored. In our example, the two configurations match.
