Let’s create a VM running Ubuntu Linux as the operating system.
Console
- In the Cloud console, open Compute Engine and click CREATE INSTANCE:
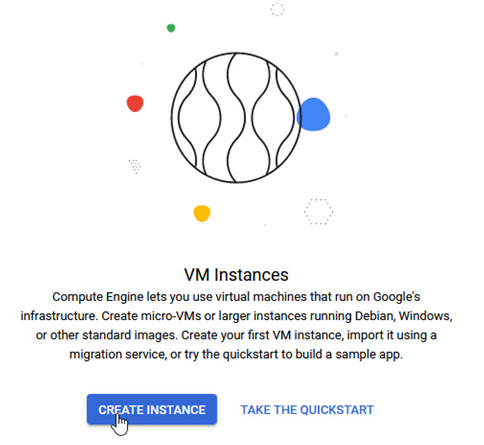
Figure 4.1 – Creating an instance in the Cloud console
- We can now specify multiple options for the VM. Pick the instance name, and then choose the desired region and zone:
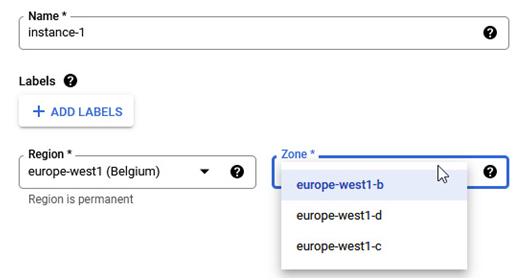
Figure 4.2 – The first part of instance creation – an instance name and instance region with a zone
- We have several options under Machine family in the Machine configuration section. We selected the GENERAL-PURPOSE type of the VM, and for the Series option, we selected E2:
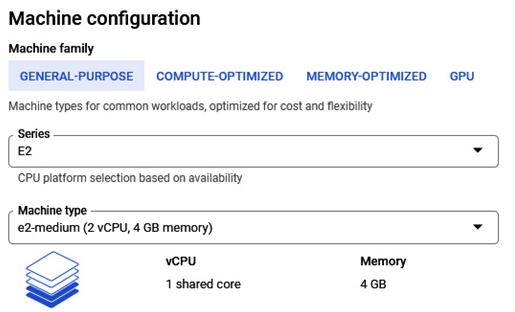
Figure 4.3 – The Machine configuration section with several machine family options to choose from
- Some more options from the Machine family section include CPU platform, vCPUs to core ratio, and Visible core count:
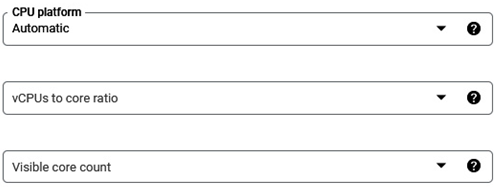
Figure 4.4 – Optional configurations for the VM
- If the application on the VM instance requires a display device, you can enable this when creating the instance:

Figure 4.5 – The Display device option when creating the VM
- In the following sections, we can enable a confidential VM service, which allows us to encrypt VM memory by leveraging a Virtual Trusted Platform Module (vTPM). This feature is available only in a specific type of the VM – the N2D series type of VMs. You can deploy a container image to the VM instance if you wish:
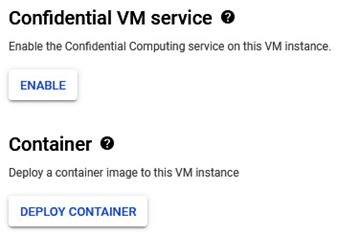
Figure 4.6 – Confidential VM service and container deployment options when creating the VM
- In the Boot disk section, we have the freedom to choose any operating system available:
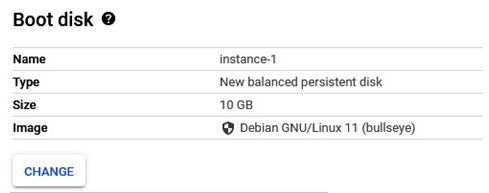
Figure 4.7 – The Boot disk section from the new VM creation wizard
- We changed the operating system to Ubuntu 20.04 LTS, and we selected the boot disk type as SSD persistent disk, with a size of 50 GB:
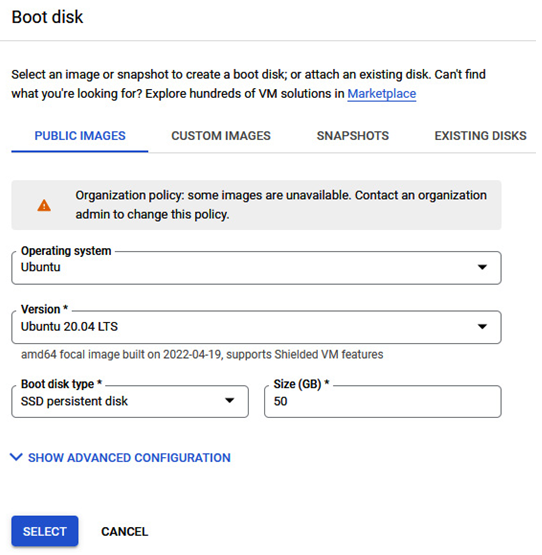
Figure 4.8 – The boot disk, operating system selection, and boot disk type option with its size
- In the advanced configuration section, we can configure a deletion rule, encryption, a snapshot schedule, and custom device naming, as shown in the following screenshot:
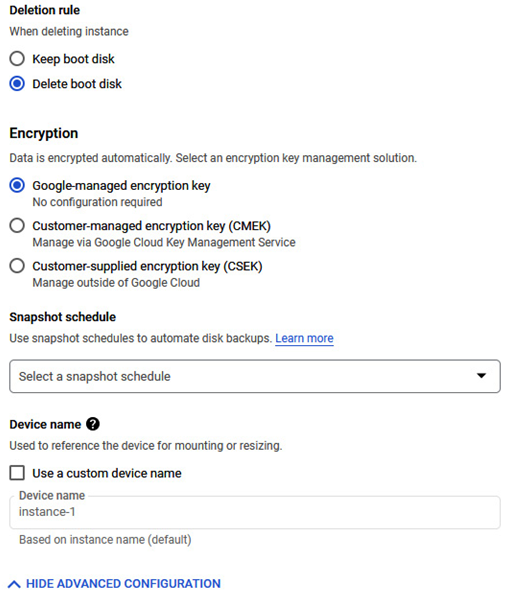
Figure 4.9 – Disk deletion rule and VM encryption options during VM creation
- On the Identity and API access screen, we can choose a service account and configure access scopes to Cloud APIs:
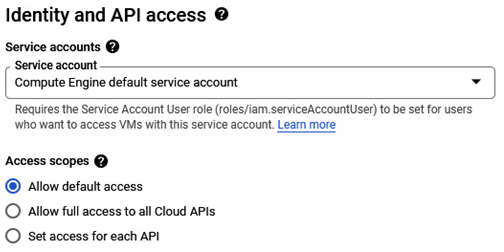
Figure 4.10 – The Identity and API access configuration screen
- In the last section, Firewall, we can allow HTTP and HTTPS traffic in our newly created VM instance:

Figure 4.11 – Allow HTTP/HTTPS firewall rules configuration screen
- Further options, such as networking, disks, security, and sole tenancy, will be discussed later in this chapter. By clicking the Create button, we can create the VM. Next to the Cancel button, the Equivalent Command-Line button can help us learn the gcloud commands.
- After a short period, instance-1 will be successfully created, and it is reachable via the Secure Shell (SSH) protocol, as shown in the following screenshot:
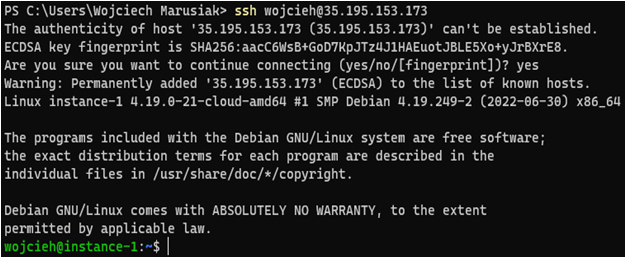
Figure 4.12 – A successful login to the instance via the SSH protocol
