In the Cloud console, we will start by adding an additional disk:
- To add a disk to the existing instance, click on its name in the Cloud console.
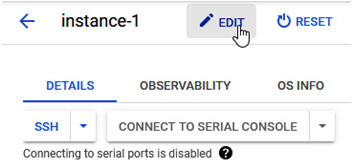
- Once the instance is selected, click EDIT:

Figure 4.36 – Editing the instance in the Cloud console
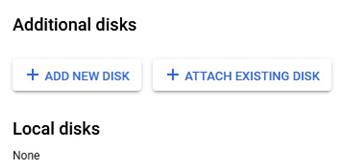
- Navigate to the Additional disks section and choose to add a new disk. This will open a new window where we can create and attach a disk to the instance:

Figure 4.37 – The Additional disks section in the EDIT section of the instance
- In the new window, we have many options to choose from:
• Name: The name of the disk.
• Description: We can describe what the purpose of the disk is or why we want to add it.
• Source: This can be a blank disk, image, or snapshot.
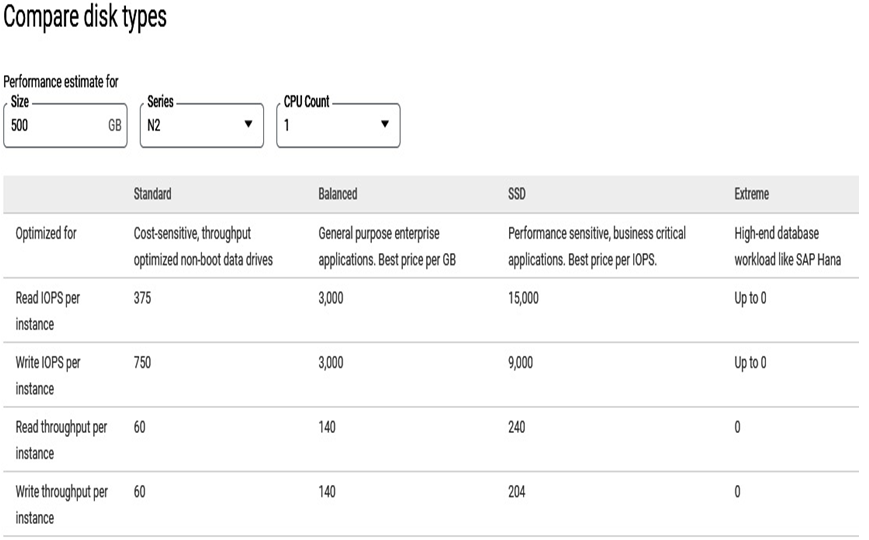
• Disk type: We have the following options: a balanced persistent disk, an extreme persistent disk, an SSD persistent disk, and a standard persistent disk. If you click the Compare disk types button, a comparison will help you choose the best disk based on the workload:

Figure 4.38 – A table with a comparison of all available disk types in Google Cloud
- Size: We can enter disk sizes between 10 and 65,536 GB.
- Snapshot schedule: If a snapshot schedule was previously created, we can use it to enable automatic snapshots on the disk we create.
- Encryption: Google Cloud allows us to pick from three encryption options – a Google-managed encryption key, a customer-managed encryption key (CMEK) where we leverage Google’s Cloud Key Management Service, and a customer-supplied encryption key (CSEK) where encryption keys are managed outside of Google Cloud.
- Labels: This allows us to organize projects and resources easily by adding key-value pairs to the resources – for example, we could label a newly added disk with a key and its value (e.g., key = department and value = infrastructure). Labels allow us to easily organize resources and use filters.
- Disk attachment mode: We can attach disks in read/write or read-only mode.
- Deletion rule: We can decide to keep the disk or delete it when we delete the instance that the disk is attached to
- Device name
5. Once all parameters are selected, click the Save button to attach the disk to the instance. This doesn’t mean that we can put files on it right away. There’s another step that involves formatting and mounting the disk in the operating system itself:

Figure 4.39 – A new disk is added to the instance
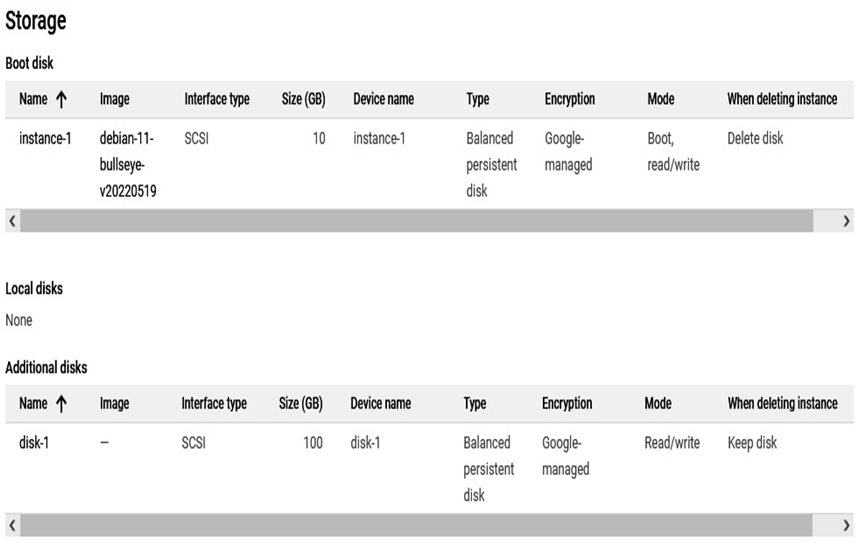
6. After a moment in the storage section of the VM, both disks (the boot disk) and the newly added disk are visible:

Figure 4.40 – A new disk is visible in the instance configuration section
We will perform the same operation in the next section using the command-line interface.
