We can enable an API in two places – Cloud Console or Google Cloud Shell. Let’s start with Cloud Console.
Enabling an API in Cloud Console
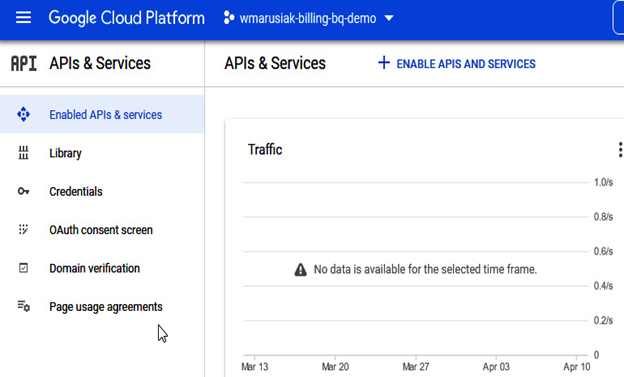
To enable an API in Cloud Console, we need to go to APIs & Services in our project:

Figure 3.32 – Overview of APIs & Services
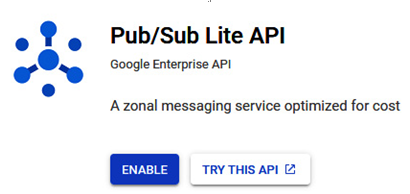
Simply type the product name or choose it from the categories to enable a particular API. Once selected, click ENABLE:

Figure 3.33 – API enablement for Pub/Sub
API enablement usually takes just a few seconds. Now, let’s look at how to enable an API in Cloud Shell.
Enabling an API in Cloud Shell
Similar to Cloud Console, APIs can be enabled in Cloud Shell. The steps are as follows:
- To list all projects, type the following command:
gcloud projects list - The next step is to choose our desired project:
gcloud config set project PROJECT_ID - Before we enable the API, we need to list all available services by running the following command:
gcloud services list –avialable - Choose the desired service and enable it:
gcloud services enable SERVICE_NAME
Once we enable the API, it is good to know where to check which APIs are enabled to have an overview. This is the topic of the next section.
Overview of an enabled API
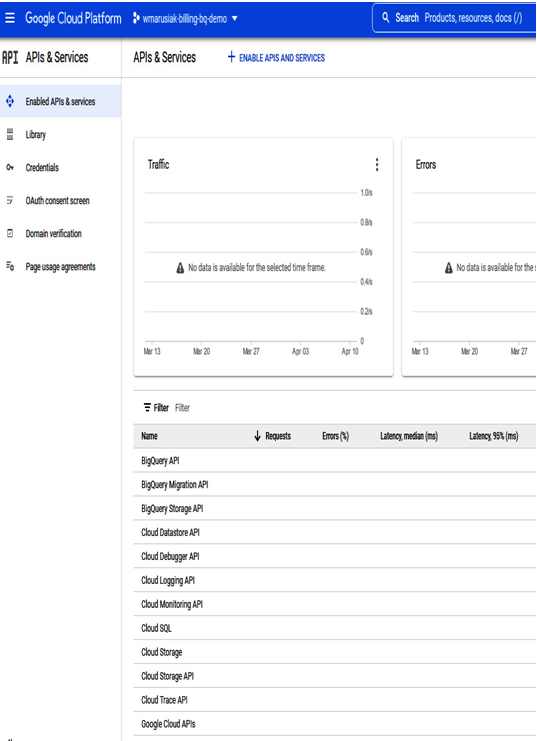
To check which APIs are enabled, we can view this information in the APIs & Services section, shown as follows:

Figure 3.34 – Overview of enabled APIs
In addition to information on enabled APIs, we can view the number of requests, error percentage, and latency.
API management is a straightforward process, but it is essential to remember that APIs are already enabled every time we use the Google Cloud service. If we have never used a service, we need to have sufficient permissions to allow it to use it.
The fact that API management is a straightforward process is especially important to remember if we want to run services in newly created projects. The next section focuses on quota management, which is an important topic for day-to-day cloud usage and the certification.
Another part of using Google Cloud services is quotas. Together with APIs, they fully allow you to manage how you will use Google Cloud services. While APIs enable us to control whether the service is in an enabled or disabled state, quotas will allow us to control how many resources can be used.
Different products may have various quantifiable resources such as the number of API calls or requests per time period, or be as simple as CPU and RAM space or disk storage number.
You might wonder why cloud providers limit you from spending however much you want on cloud resources. First and foremost, Google Cloud wishes to protect you from unexpected spending. We all make mistakes, and some code deployment, script, or even GUI errors happen. If there is no protection, your credit card could be quickly charged with thousands of US dollars. Some cloud resources are more expensive than others – for example, GPUs or high-CPU and RAM VMs. They can max out your credit card very quickly.
All this is done to protect you, your spending, and other customers.
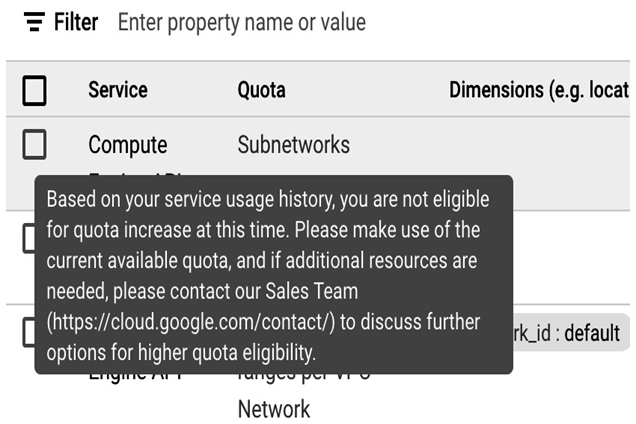
The longer you use the cloud and have a more extended spending history, the possibility of creating more cloud resources increases. Google Cloud evaluates many factors such as previous spending or abuse penalties. Customers might have different quotas based on these aspects and some other factors. In the next figure, we can see the Quota section of Google Cloud Console:

Figure 3.35 – Unable to change quota notification
The preceding screenshot shows precisely that the quota can’t be changed yet.
The final word is to remember that quotas are project resources. In the next section, we will focus on the quota increase process and factors.
