We already know what differentiates GKE Standard and Autopilot, and we will focus on GKE deployment in Autopilot mode.
Similar to standard GKE deployment, we need to click the Create button to start. As you will see in the screenshots and overall deployment flow, the deployment is much more simplified than with Standard mode, and this is a very good thing. We want an automated and simplified experience of running containerized applications in this mode. Follow these steps:
- The first two pieces of information we need to provide are the cluster name and desired region:
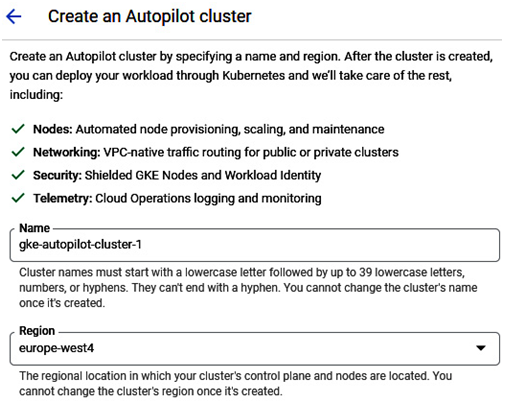
Figure 5.23 – GKE Autopilot initial configuration screen
- We can choose a network access option in the Networking section. It can be either a public or private cluster, and we already know the implications from the architecture overview. We will select a public cluster for this deployment:
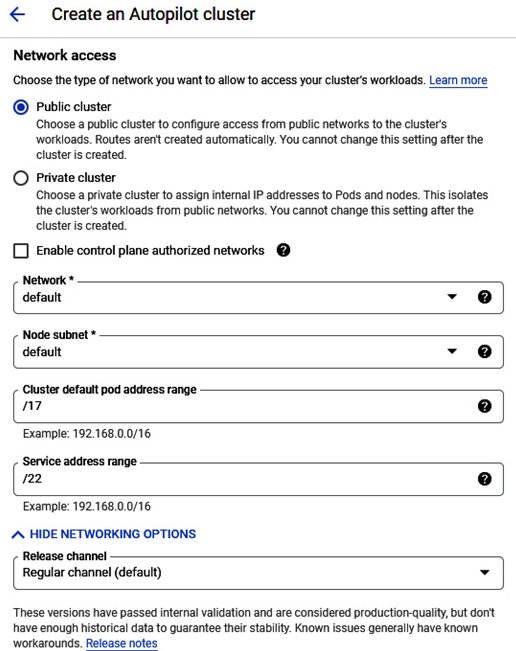
Figure 5.24 – GKE Autopilot networking configuration screen
- In the Automation section, we can enable the maintenance window. If not selected, cluster maintenance might run at any time:
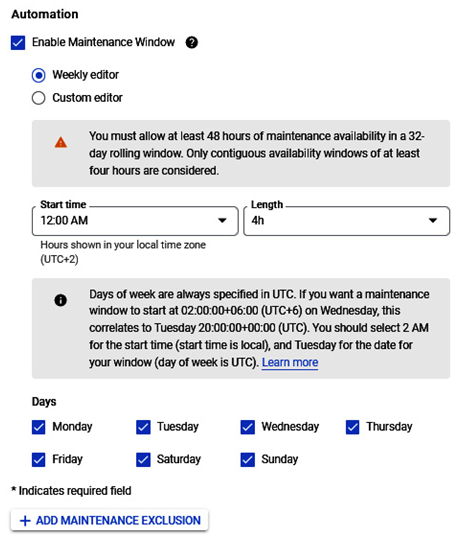
Figure 5.25 – GKE Autopilot automation configuration screen
- We have options to enable Anthos Service Mesh, which is Google’s implementation of the powerful Istio open source project, and enable additional security options:
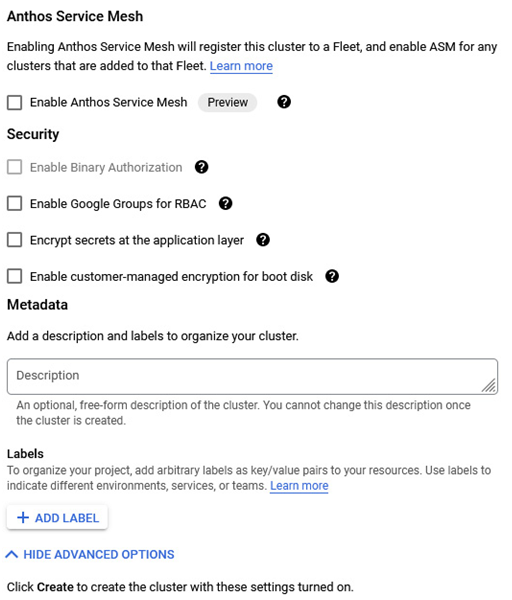
Figure 5.26 – GKE Autopilot automation configuration screen (continued)
- After a moment, GKE in Autopilot mode creation completes, and we can consume resources:
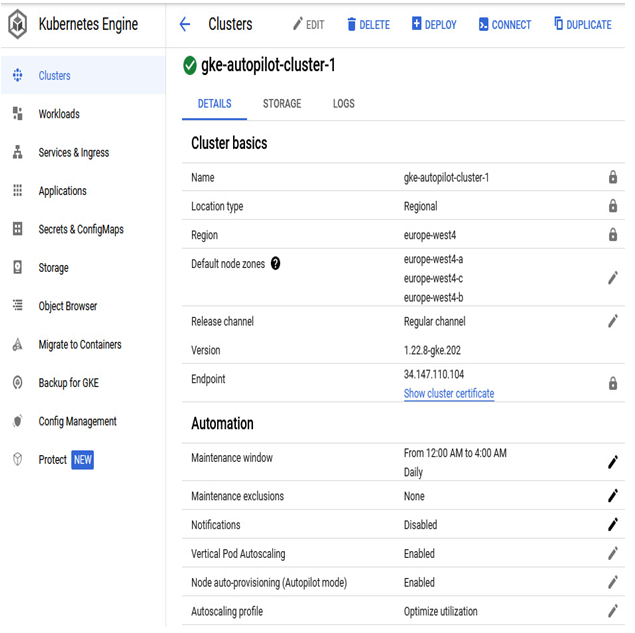
Figure 5.27 – GKE Autopilot successful deployment
Let’s try deploying GKE in Autopilot mode using the CLI.
As the Autopilot clusters are, by default, regional clusters, we need to provide the region and not the zone in the command itself.
The simplest command to create a GKE Autopilot cluster would be this:
gcloud container clusters create-auto CLUSTER_NAME –region REGION NAME –project=PROJECT_NAME
The command to create a cluster in the europe-west4 region in the wmarusiak-book project looks like this:
gcloud container clusters create-auto gke-cluster-autopilot-2 –region europe-west4 –project=wmarusiak-book
Cluster creation takes a few minutes to deploy, and then we can immediately deploy an application.
We can run the following command to check whether the cluster was created:
gcloud container clusters list
After running the command, we receive information about the GKE cluster—its location, master version, master IP address, and much more:
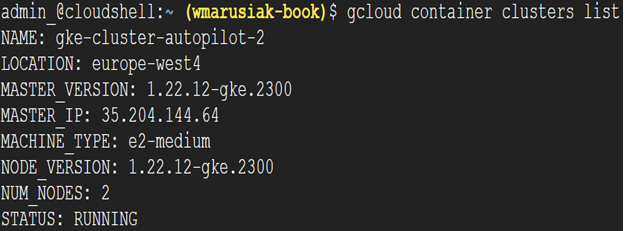
Figure 5.28 – GKE Autopilot successful deployment by using the CLI
The previous command provides more detailed information about the cluster itself. We know the GKE master, node version, machine type, and status.
To connect to the cluster, we need to use the following command:
gcloud container clusters get-credentials –region=REGION_NAME CLUSTER_NAME
Once run, the kubectl configuration file will be updated with newly created cluster credentials. The Cloud Shell configuration file is located in the following path: .kube/config.
Naturally, it can be viewed or edited with your preferable command-line file editor.
The configuration file contains the cluster certificate, name, and more information:
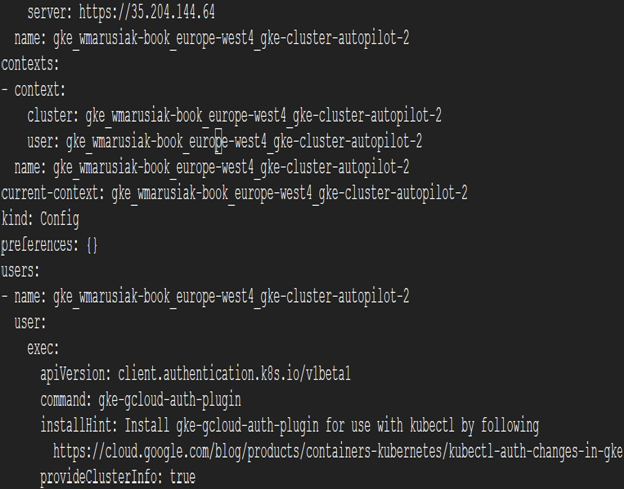
Figure 5.29 – Fragment of the kubectl configuration file with cluster details
Once the cluster is created, it is ready to host new applications. In the next section, we will create and deploy a new application to the cluster.
